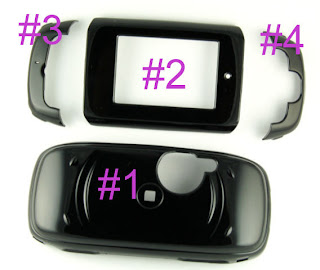
We have created a diagram to show how you can install the Sidekick III faceplate on your cell phone.
A total of 4 pieces are include in the Sidekick III faceplate set.
(back plates #1, front plate #2, track ball side #3, button side #4)
Follow these step to install the faceplate on your Sidekick III phone.
1. Take out back plate(1) and track ball side(3) “diagram #1”
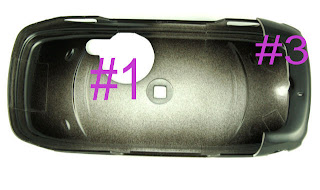
2. Snap the track button side(3) to the back plate(1) (small squares on track ball piece connect inside and large squares contact on the outside of main plate) “diagram #2”
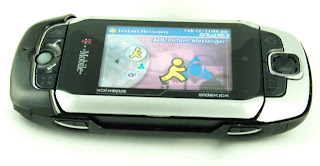
3. Slide Sidekick phone into case. Make sure you press phone all the way down into case. “diagram 3”
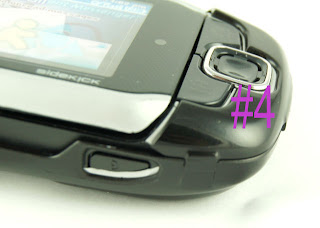
4. Then start with one side of the button side(3) You must press down hard until one side of it lock down. Then proceed to lock down other side of track ball piece(3). You must press very hard to lock in other side. "diagram #4"
5. Snap on front plate(2)
Once it is on, this faceplate is very secure. If you need to remove plates: first, get a flat head screw driver and push up on each side pieces, then pop off the back plate.
Diagram #1

Diagram #2

Diagram #3

Diagram #4


.jpg)
.jpg)
.jpg)
.jpg)
.jpg)
a.jpg)
.jpg)
No comments:
Post a Comment